I’ve been piddling around building all kinds of audio related projects out of wood lately and so I decided to start building a new rack for my den. The setup in there now is quite dysfunctional, not well arranged for easy use, and, well, just looks bad.
I’ve been collecting several different species of lumber and have decided on a Brazilian Cherry, or Jatoba, framework with Maple finished shelves. I will build the shelves up with a maple frame that supports a semi-floating center plinth like I have seen in the Finite Elemente shelves.
But, before I started ripping, jointing, and planing the not-exactly-dirt-cheap Jatoba, I thought that I would use some of the Yellow Pine that I salvaged from my old waterbed frame to build a test stand...just to try out some ideas and work out many of the kinks that I am sure I will run into in the construction of the unit….
So, I took the waterbed frame and first planed it on my Delta planer, then ripped it to size on my Ryobi BT3100. I selected pieces of the wood that were knot free and then cut it to the lengths I wanted on my recently tuned-up Harbor Freight 10” compound Sliding Miter Saw. Then I took the pieces and rounded certain edges with a 1/8” round over bit in my router table. Now, on to building it up...
I wanted to use pocket hole joinery to make the stand quick and easy to assemble. The Kreg Jig makes this a breeze! You can assemble the entire framework in one session. The screws hold all the glued pieces together while the glue sets, and you don’t have to use a million clamps! This is the first project where I have really used the Kreg setup for making a frame and I really like how well it went together.
I did use right-angle corner clamps and several squares while screwing the frame together, though, just to make sure that everything was square and plumb. I think it worked out pretty well.
This was also the first time I had used my Woodhaven shelf pin drilling jig along with a self-centering 1/4” Vix drill bit. This also worked amazingly well, and the middle shelf in this rack sits flush on it’s four shelf pins without any rocking! To say I was surprised, and pleased, is an understatement!
The top and shelves were made from 3/4” MDF2...it’s more like sculpting than woodworking with this stuff, but the routed edges really suck up sealers and paint! This is one area that I can improve on if I should make more stands like this. I finished them with Black Metallic spray lacquer from Duplicolor and then sprayed on clear coats of water based polyurethane, and then rubbed them out to a high gloss.
I decided to finish the rack itself in a cherry finish...I used Olympic oil-based products from Lowe’s for this...first, a pre-stain conditioner to prevent splotches and grain reversal in the pine. Then staining with the cherry stain. Then I sealed it with Tung Oil and after a couple of days, sprayed a coat of clear, gloss water based polyurethane on it.
I made the top shelf supports from some round maple pieces with field arrow points. I then put brass threaded inserts into the crossbars and screwed the supports into them...it was even level!
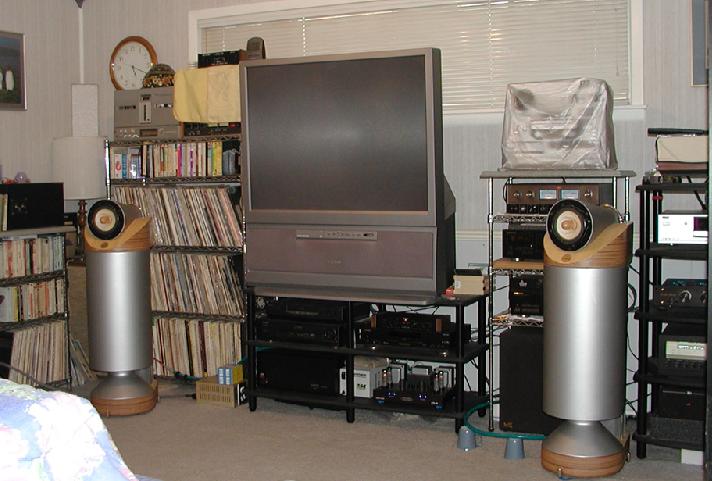
Well, enough blathering, how about some pictures of the finished object? They’re on the next pages!